Let’s be honest: smashing your toe into a heavy bedpost or catching your cleat on an artificial turf seam hurts like hell.
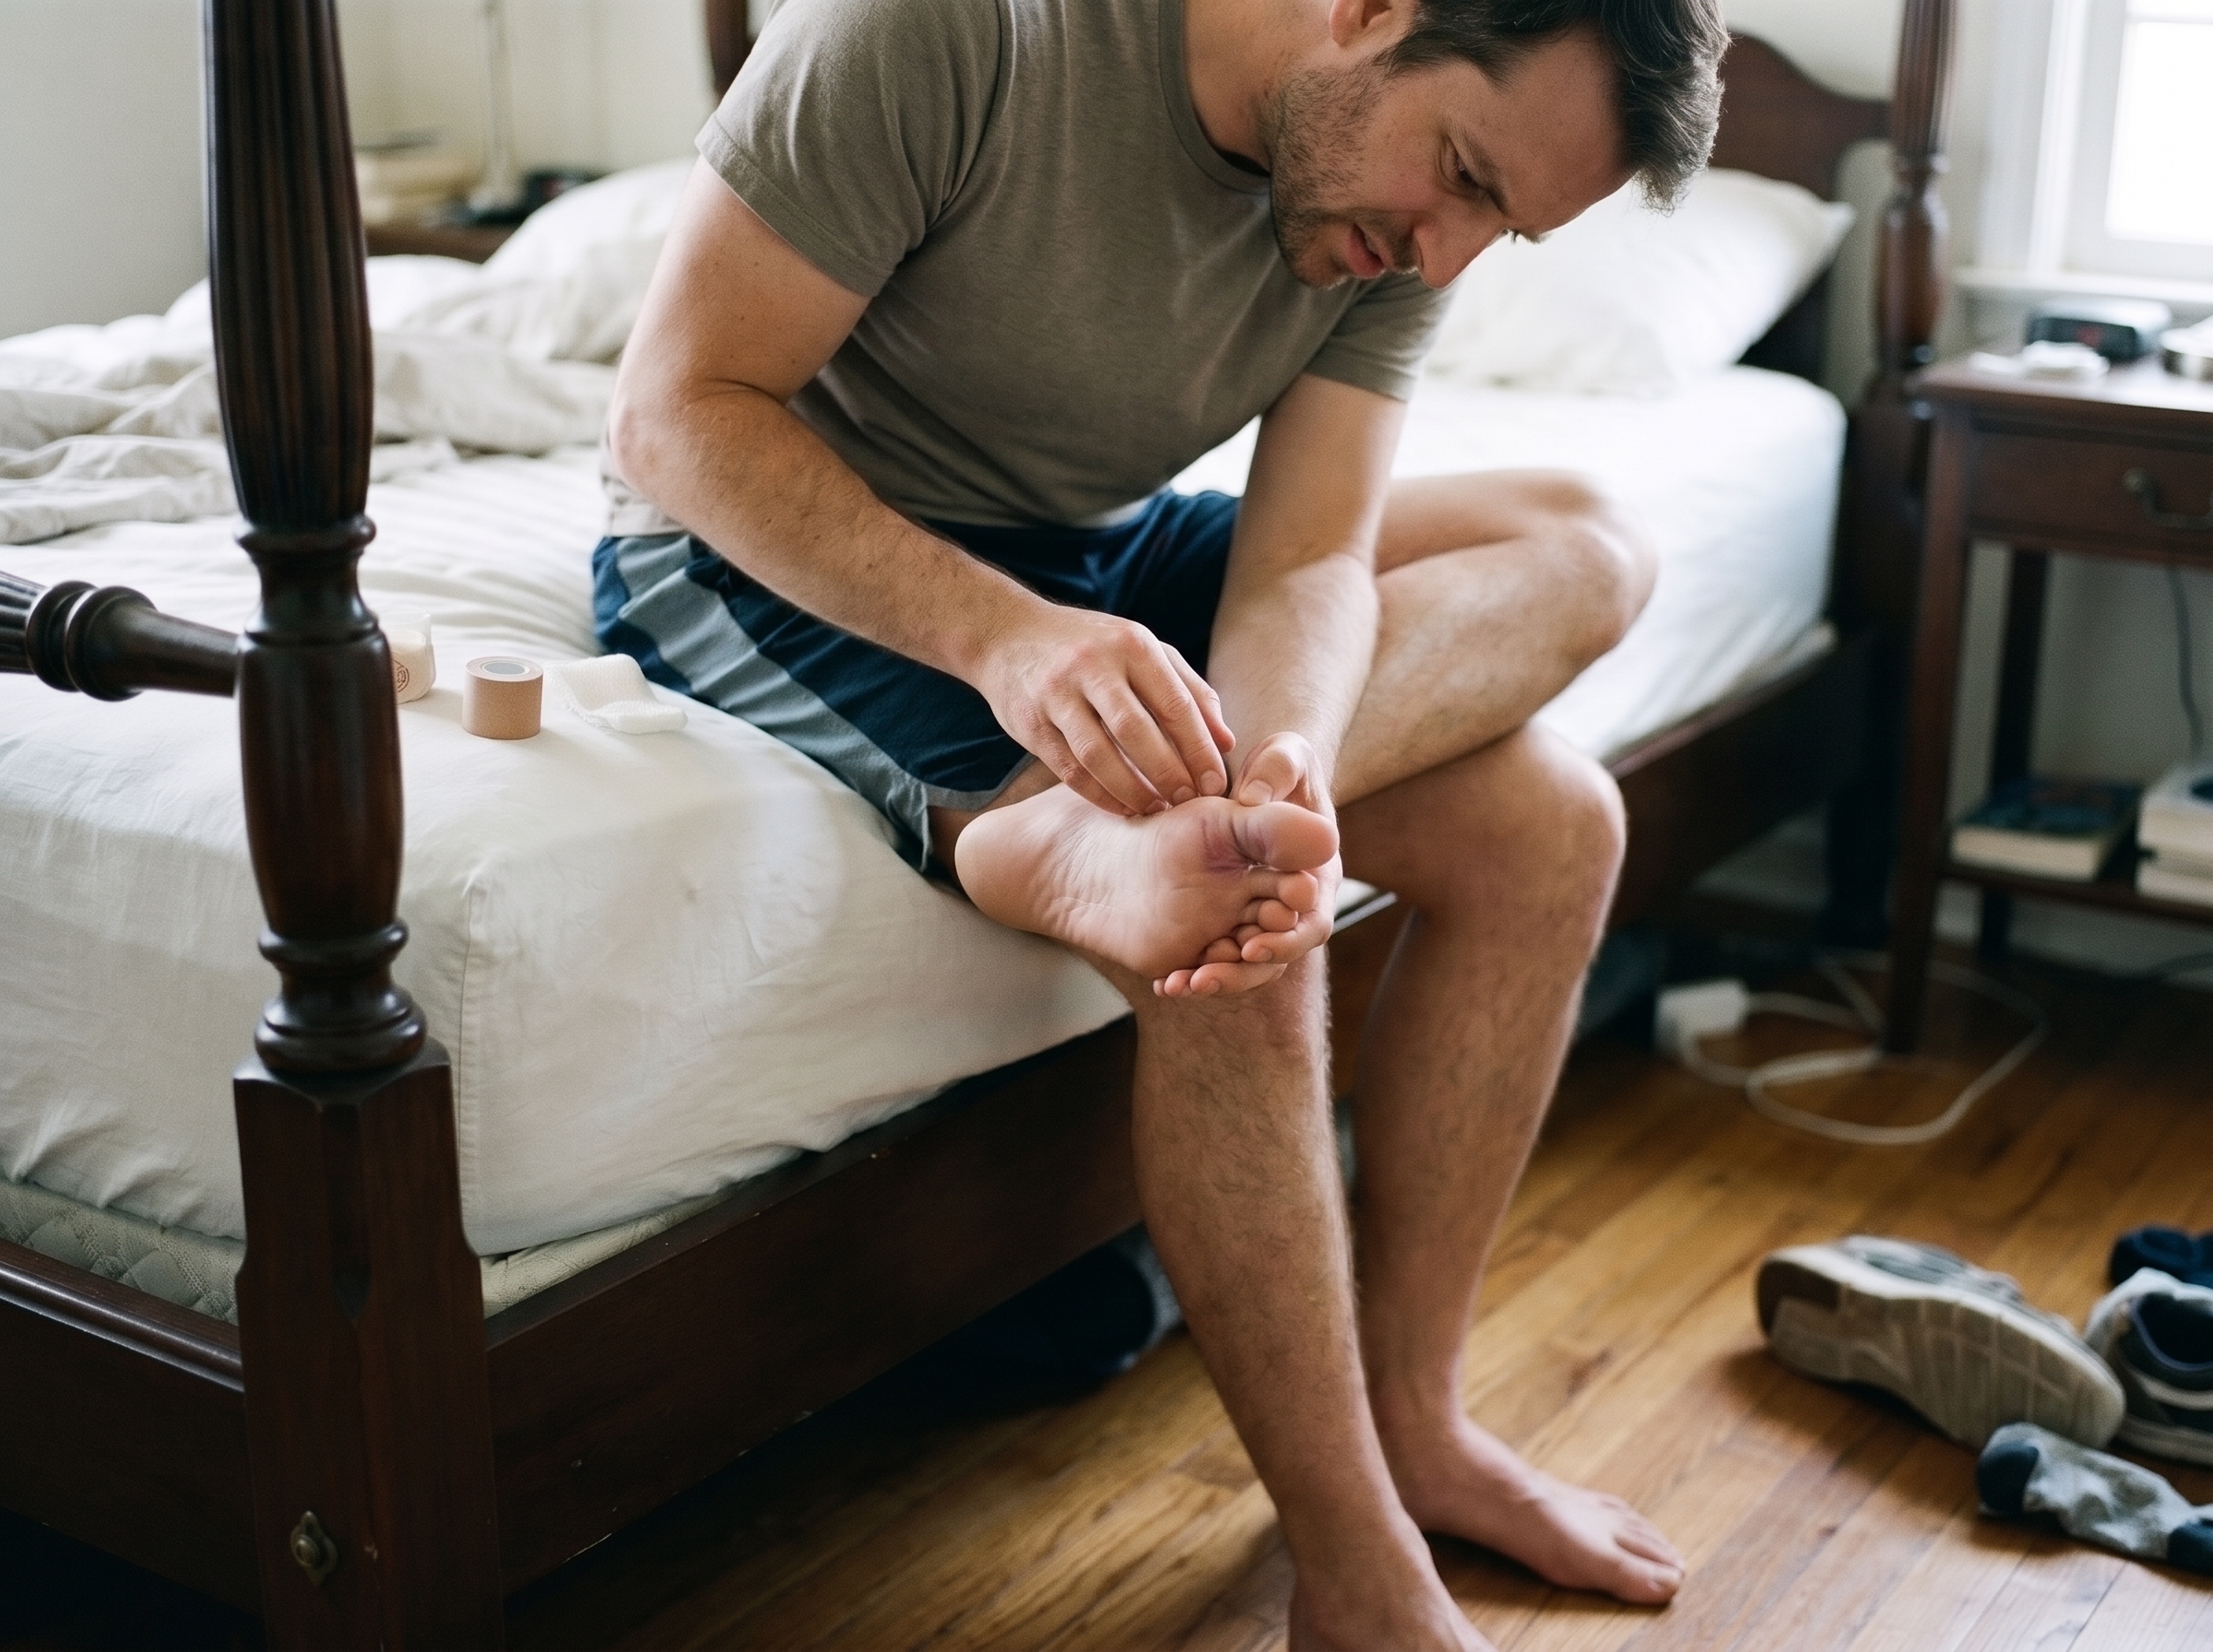
Within thirty seconds, you're hopping around the living room on one foot, biting your tongue, and waiting for the throbbing to peak. Once the initial shock wears off, you're left staring down at a swollen, purplish digit with one nagging question: Did I actually break it, or is it just a bad sprain?
The frustrating reality is that in the first hour or two, both injuries feel almost identical. Both swell up fast. Both turn dark purple. And both make putting your heel down feel like a chore.
In orthopedic physical therapy, we see people fall into two common traps after a toe strike:
- The "Tough It Out" Trap: You tell yourself it’s just a stubbed toe, limp through your workday for three weeks on a displaced hairline fracture, and end up with permanent joint crookedness or early-onset osteoarthritis.
- The "Full Freeze" Trap: You hear that a toe might be broken, panic, throw on a stiff boot for two months straight without moving a muscle, and end up with a frozen, rigid joint that ruins your running gait for the rest of the year.
Neither approach works. Let’s walk through how to tell what you’re dealing with, what’s happening beneath the skin, and how to get your joint range of motion back so you aren't limping a month from now.
Direct Legal Summary (Answer Box)
Can you seek compensation for a broken or sprained toe? Yes. If your toe injury occurred at work, in a business from a slip and fall on wet flooring, due to falling warehouse merchandise, or in a traffic collision, you may qualify for financial recovery covering hospital bills, lost income, and physical impairment. Estimated Settlement Values: Mild toe sprains generally settle between ,000 and 0,000. Clean bone fractures average between 0,000 and 0,000. Complex big toe fractures requiring hardware fixation or causing permanent range of motion loss often reach 5,000 to 0,000 or more. Workers' Compensation vs. Personal Injury: On the job injuries are covered by workers' comp without proving fault. However, if hazardous property conditions or an outside driver caused the injury, you can pursue a third party personal injury lawsuit for full damages, including pain and suffering. Critical Evidence Needed:* Seek diagnostic imaging (X-rays or MRI) within 48 to 72 hours. Gaps in early medical documentation are the primary excuse insurance adjusters use to devalue or deny toe injury claims.
Quick Comparison: Sprain vs. Fracture
If you're sitting on the edge of your bed right now trying to figure out what just happened, run through this quick checklist:
| What You're Checking | Sprained Toe (Ligament Strain) | Broken Toe (Bone Fracture) |
|---|---|---|
| Where does it hurt most? | Right around the joint crease. It aches when you try to flex it. | Sharp, pinpoint pain directly on the bone shaft. Very tender if tapped. |
| How does it look? | Puffy, rounded, and swollen, but the toe still points in its normal direction. | Often looks crooked, twisted sideways, or noticeably shorter than usual. |
| Bruising pattern | A dull bruise develops over 24 to 48 hours around the joint base. | Dark, angry purple bruising spreads fast into the foot or pools under the nail. |
| Can you put weight on it? | You can limp on your heel or flat foot with manageable, dull soreness. | Putting body weight down sends a sharp, shooting jolt through the bone. |
| Wiggle test (Range of Motion) | Stiff and tight, but you can still gently wiggle it a fraction of an inch. | Locked up tight. Trying to bend the toe actively feels nearly impossible. |
| What did it sound like? | Usually a dull thud or a muffled pop (common with Turf Toe). | Often a distinct snap, crunch, or audible crack at the moment of impact. |
| Healing time | 2 to 4 weeks for mild sprains; 6 to 8 weeks for torn ligaments. | 6 to 8 weeks minimum for the bone fragments to knit solidly. |
Three Quick Hands-On Tests You Can Do Right Now
Before you spend three hours in an urgent care waiting room, these three simple self-checks can give you a clearer read on the damage:
1. The Light Percussion Test (The Tap Check)
Take the index finger of your opposite hand and gently tap the very tip of the hurt toe straight backward toward your foot (axial loading).
If you have a sprain*, this compression usually doesn’t bother you much because the ligaments only stretch when the joint bends.
If the bone is fractured*, that light shockwave travels right through the break site and produces a sudden, unmistakable wince.
2. The Bone-Sweep Test
Gently run your thumb and index finger along the sides of the toe bone, away from the joint line. Press lightly on the bone shaft itself.
* Pinpoint, razor-sharp tenderness on a specific millimeter of bone usually flags a fracture.
* If the bone feels fine but pressing directly into the joint space feels sore and squishy, you're likely dealing with a capsular sprain.
3. The Nail Bed Check
Look closely at your toenail. Is blood pooling beneath it (known as a subungual hematoma)? A little dark speck might just be a burst surface capillary, but if more than a third of the nail bed turns pitch black or deep purple, the force was heavy enough to disrupt the underlying distal phalanx bone.
Why Big Toe Injuries Play by Different Rules
If you hurt your pinky toe or your fourth toe, the stakes are relatively low. Those outer toes provide balance and sensory feedback, but they don't carry the brunt of your stride.
Your big toe (the first MTP joint) is an entirely different machine.
Every single time you push off the ground while walking, jogging, or climbing stairs, your big toe takes on between 40% and 50% of your total body weight. That’s hundreds of pounds of cumulative force every single mile.
When you hyperextend the big toe backward (a classic injury known as Turf Toe), you don't just stretch a ligament. You risk tearing the plantar plate complex, a thick fibrocartilaginous pad that keeps the joint stable.
If you ignore a severe big toe sprain or try to run through it too early, the joint cartilage wears down rapidly. That turns into Hallux Rigidus, a condition of chronic, permanent stiffness where your big toe simply refuses to bend upward anymore, leaving you with a permanent hitch in your step.
The First 72 Hours: Forget R.I.C.E., Use P.O.L.I.C.E.
Most people reach for the old "R.I.C.E." playbook: sit on the couch for two weeks, ice it non-stop, and don't touch the floor.
Modern sports rehabilitation has moved on to P.O.L.I.C.E. (Protection, Optimal Loading, Ice, Compression, Elevation). Here’s why that matters:
Protect with the right footwear:* Don't wear flimsy flip-flops or soft, bendable sneakers. Grab a stiff-soled shoe, like a sturdy hiking boot, a rigid clog, or an inexpensive post-op shoe from the pharmacy. A sole that doesn't bend keeps the joint immobilized without needing a plaster cast.
Optimal Loading beats total rest:* Total bed rest causes your calf to shrink and your toe joints to seize up. If you can bear weight on your heel without sharp bone pain, do it. Gentle, pain-free loading tells the healing tissue how to align its collagen fibers.
Ice in short bursts:* 15 minutes at a time is plenty. Don't freeze your skin numb for an hour; that just shuts down local blood flow and slows cellular repair. Wrap an ice pack in a damp kitchen towel and apply it 2 to 3 times a day.
Elevation does the heavy lifting:* Toes don't have large muscular pumps to drain pooled blood. Whenever you're sitting down, prop your foot up on a couple of pillows so your ankle rests higher than your hip. Let gravity do the drainage work for you.
How to Buddy Tape Without Ruining Your Skin
Buddy taping is simple, but most people do it wrong. They wrap sticky tape straight over bare skin, trap sweat between their toes, and end up with a nasty fungal blister by day three.
Here is the clean, clinical way to do it:
[Healthy Toe]       [Injured Toe]
      |                  |
      |==== Tape Strip ==|   <- Just below the toenail
      |   [Gauze Pad]    |   <- Small strip of gauze between toes
      |==== Tape Strip ==|   <- Just above the web space
      |                  |
- Always wedge padding between the toes. Fold a small square of sterile cotton gauze, tissue, or felt and slide it right between the hurt toe and its healthy neighbor. This stops friction and keeps the skin dry.
- Pick the right buddy. For your second, third, or fourth toe, tape it to the neighbor toe toward your big toe side (it provides a sturdier anchor). Crucial note: Never buddy tape your big toe to your second toe. The big toe is too massive; it will just drag your second toe out of alignment.
- Keep the joints free to bend slightly. Place one strip of 1/2-inch medical paper tape below the knuckle and another strip above it. Don't wrap tape directly over the bending joint crease unless you're trying to lock it completely.
- Check blood flow. Press down on your toenail for three seconds until it turns white. Let go. It should turn pink again within two seconds. If it stays pale, the tape is too tight. Cut it off immediately.
Restoring Range of Motion: The 3-Stage Rehab Routine
The number one complaint we hear months after a toe injury isn't pain, it is stiffness. People complain they can't do a lunge, struggle to walk barefoot on hardwood floors, or feel like the joint is full of sand.
That stiffness happens because scar tissue glues the joint capsule together while it heals. To stop that from happening, start this progression as soon as the sharpest pain clears:
Stage 1: Gentle Passive Movement (Days 5 to 14)
Do these while sitting comfortably watching TV.
Manual Flexion & Extension:* Grab the base of the injured toe with your thumb and forefinger. Use your other hand to gently guide the toe up toward your shin until you feel a light stretch, never sharp pain. Hold for 5 seconds. Then guide it downward toward your sole and hold for 5 seconds. Do 10 reps in each direction, twice a day.
Warm Foot Soaks:* Once any open cuts are sealed and acute swelling has leveled off, soak your foot in warm water with Epsom salt for 8 to 10 minutes. Warm tissue stretches much easier without tearing.
Stage 2: Active Control & Foot Strength (Weeks 2 to 4)
Now you’re making your foot muscles do the work.
Towel Scrunches:* Drop a small hand towel on a slick hardwood or tile floor. Sit in a chair, place your bare foot on the edge of the towel, and use your toes to grab the cloth and pull it toward your heel. Smooth it out and do it 3 times.
Big Toe Decoupling (Toe Yoga):* Keep your foot flat on the floor. Try to lift only your big toe while keeping your four little toes pinned to the floor. Hold for 3 seconds. Then swap: push your big toe into the floor and lift the four smaller toes. It sounds easy until you try it; this rebuilds the neural connection to your foot intrinsics.
Seated Rockers:* While seated, keep your toes planted and lift your heel off the ground to stretch the big toe joint into dorsiflexion, then rock back.
Stage 3: Loaded Push-Off & Balance (Weeks 5 to 8)
Getting back to running, sports, and normal walking.
Double-Leg to Single-Leg Calf Raises:* Stand facing a wall with your hands resting on it for balance. Slowly push up onto the balls of your feet over 2 seconds, hold for 1 second, and lower back down over 3 seconds. Once you can do 15 reps without discomfort, try it on the injured leg alone.
Arch Lifts (The Short Foot Exercise):* Stand barefoot with your weight evenly spread. Without curling your toes under, try to draw the ball of your big toe toward your heel, lifting your arch off the floor. Hold for 5 seconds. Do 10 reps.
Single-Leg Stork Stance:* Stand on the injured foot alone for 30 to 45 seconds with your eyes open, then try it with your eyes closed. This retrains the tiny balance receptors in the toe joint that get knocked out after an injury.
When You Should Stop Self-Treating and See a Doctor
Most minor toe breaks and mild sprains heal well at home, but some toe injuries require immediate orthopedic intervention. Don't try to tough it out if you notice any of these signs:
The toe looks crooked or rotated:* If the toe is cocked at a 45-degree angle, overlaps its neighbor, or looks rotated like a corkscrew, the bone is displaced or the joint is dislocated. It needs a manual reduction under local anesthesia.
There’s an open wound near the break:* If the bone broke the skin, or if there is a deep laceration next to the swollen joint, you need immediate medical attention and antibiotics to prevent a deep bone infection (osteomyelitis).
Numbness or pins-and-needles:* If the tip of your toe feels completely numb, cold, or waxy white, the blood vessels or digital nerves are compressed.
You have diabetes or poor circulation:* Even a simple stubbed toe can snowball into a non-healing ulcer if you have peripheral neuropathy or vascular compromise. Get an in-person podiatry exam immediately.